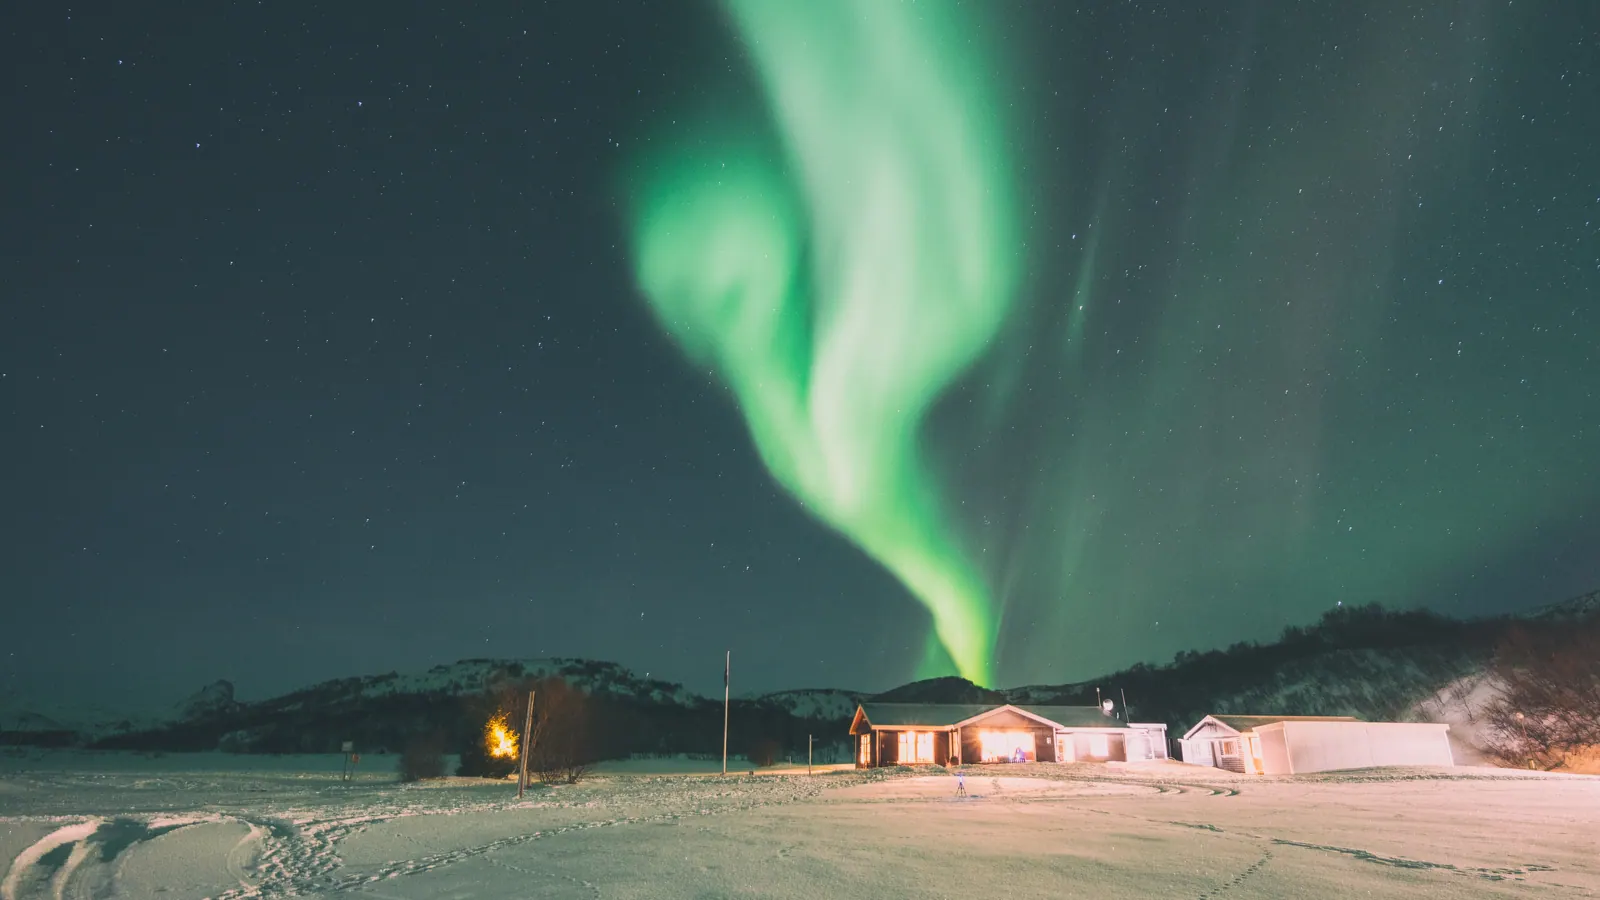

A useful first northern lights photo has two things in it: the sky you came to see, and something that ought to stay still. Put the roofline of your accommodation or the outline of a hill near the edge of the frame. When you look at the picture, that edge will help you tell whether the phone moved or the lights did.
Find a patch of sky before setting up
If you’re staying in Vík, check darkness and cloud over Vík on Upperblue Fast. BlueBlunder and Fast share an owner. Find an hour when a gap is forecast and you can be outside. Once there, see whether you can pick out stars through that part of the sky. A clear patch above your accommodation is a good place to try a frame. If the maps seem to disagree, our guide to the Icelandic cloud map and the aurora oval explains what each one shows.
Find somewhere you can stand and set down the phone without a lamp shining into the lens. If driving, choose designated parking before you set off. Bring a separate light for finding your footing while the phone is on its stand. SafeTravel’s guidance for aurora outings covers parking, visibility and moving around in the dark.
Set the phone up while your hands are warm
Clean the lens, turn off the flash and find the low-light controls indoors. A phone flash lights up whatever is close to you, including someone else trying to see in the dark. Put the phone on a stable support and take one frame at the normal wide setting. Give the capture time to finish before picking it up.
On a supported iPhone, open Camera in Photo mode. Night mode engages in low light and chooses a capture time. Take the first picture with that setting. If you need a comparison, open the Night mode control and try another available time with the phone resting in the same position. The iPhone Night mode guide shows where to find the controls.
On a Google Pixel with Night Sight, select Night Sight and hold the phone still until the capture finishes. On supported models a steady phone aimed at a dark sky can switch into Astrophotography mode. Read the shutter indicator and countdown before moving it. For a curtain that is changing shape quickly, take a regular Night Sight frame too. Google’s Pixel camera guide documents both modes and their device limits.
Read the first frame
| What you see | What to try next |
|---|---|
| The roofline and stars both have a little hook or double edge. | Steady the support and use the shutter timer if available. Keep the framing and mode the same for the next picture. |
| The roofline is sharp but a moving curtain has blended into a broad band. | Try a shorter capture if the camera offers one. Compare the shape of the band with the first frame. |
| A bright patch spreads across one side of the picture, starting at a streetlamp. | Move the lamp outside the frame or shield the lens from its direct light. Check the lens for a fingerprint. |
| The stars are sharp and the sky looks empty. | Look up again. The setup can be working perfectly during a quiet interval. |
Change one thing between frames. Two pictures taken seconds apart from the same support can tell you more about the exposure than ten pictures taken while walking around. A phone can also bring out colour that was hard to see by eye. If you share the image, a short note about how the sky looked in person gives the photograph some context.
Once you have a frame you like, put the phone away for a few minutes. The interesting part of a curtain is often the way one fold unrolls into the next.